
Preparing a correct file reduces delays, revisions, and unexpected print results. The requirements apply to flyers, business cards, brochures, booklets, programs, envelopes, menus, signs, and other printed materials.
This guide covers file preparation for printing for Rochester businesses, churches, schools, nonprofits, and individuals.
Choose the Correct File Format
Use the format that matches the project and the type of artwork.
- PDF/X: Preferred for professional printing. PDF/X-1a supports CMYK and spot colors with flattened transparency. PDF/X-4 supports live transparency and modern color workflows. Use the standard requested by the printer.
- PDF: Suitable for most print projects when exported with correct size, bleed, fonts, and image quality. Use a Press Quality or print-ready preset.
- AI: Adobe Illustrator artwork. Best for logos, illustrations, signage, and vector designs. Package linked images and fonts if the editable file is requested.
- EPS: Useful for vector logos and illustrations. Confirm that fonts are embedded or converted to outlines.
- TIFF: Suitable for high-resolution raster artwork and photographs. Use when the image must remain at full quality.
- JPG: Suitable for high-resolution photographs and simple artwork. Use maximum quality. Avoid repeatedly saving the same JPG.
- PNG: Useful for transparent artwork, logos, and digital illustrations. Confirm that the image has enough resolution and is suitable for the required color workflow.
A final PDF is usually the best file for flyers, brochures, business cards, stationery, and other flat printed pieces.
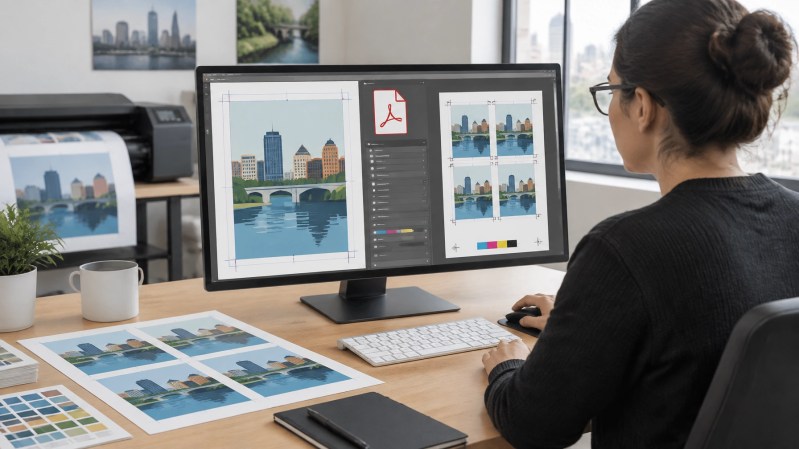
Set the Correct Size
Set the document to the finished size of the product.
Examples:
- Business card: final business card dimensions
- Flyer: final flyer dimensions
- Postcard: final postcard dimensions
- Booklet: finished page size, not the open spread
- Envelope: approved envelope template or production size
Do not resize the file after the design is complete unless all bleed, image, and layout settings are reviewed again.
For booklets, send single pages in reading order unless the printer requests reader spreads or imposed pages. Confirm the total page count. Saddle-stitched booklets commonly require a page count divisible by four, but the requirement depends on the binding method.
Add Bleed, Trim & Safety Margins
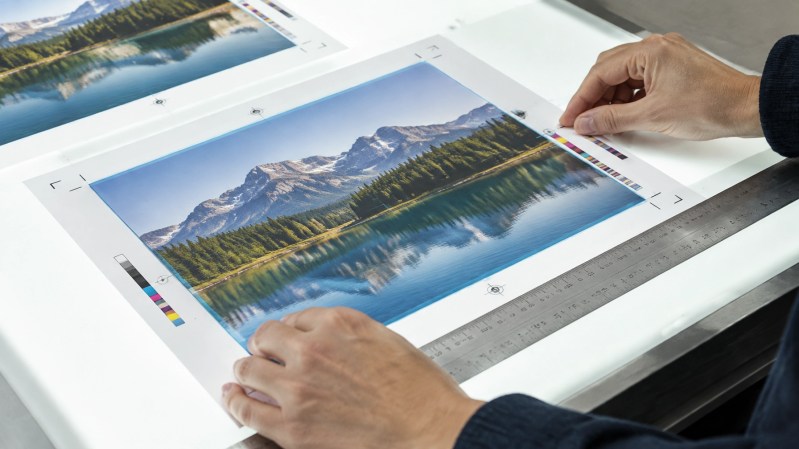
Bleed is extra artwork that extends beyond the final cut line. It prevents white edges if the cut shifts slightly during production.
Use:
- Bleed: Usually 1/8 inch on each side for North American printing
- Trim: The final finished size
- Safety margin: The protected area inside the trim
Extend backgrounds, photos, color blocks, and other edge-to-edge elements through the bleed area. Do not stop them at the trim line.
Keep text, logos, phone numbers, addresses, and other important content inside the safety margin. A minimum of 1/8 inch inside the trim is common. More space may be needed for small products, thick stocks, or special finishing.
Ask the printer for exact specifications before preparing business cards, door hangers, folders, or other small pieces.
Use Effective Resolution
Image resolution depends on the final placed size, not only the original pixel count.
Use approximately 300 effective DPI for photographs and standard raster artwork at final size.
The calculation is:
Pixel width ÷ placed width in inches = effective DPI
For example, a 3,000-pixel-wide image placed at 10 inches has an effective resolution of 300 DPI. The same image enlarged to 20 inches has an effective resolution of 150 DPI.
Low-resolution images may appear acceptable on screen but print soft or pixelated. Images copied from websites, screenshots, social media, and messaging apps often lack sufficient resolution.
Line art, small text, and technical drawings may require higher resolution or vector artwork.
Convert Colors for Print
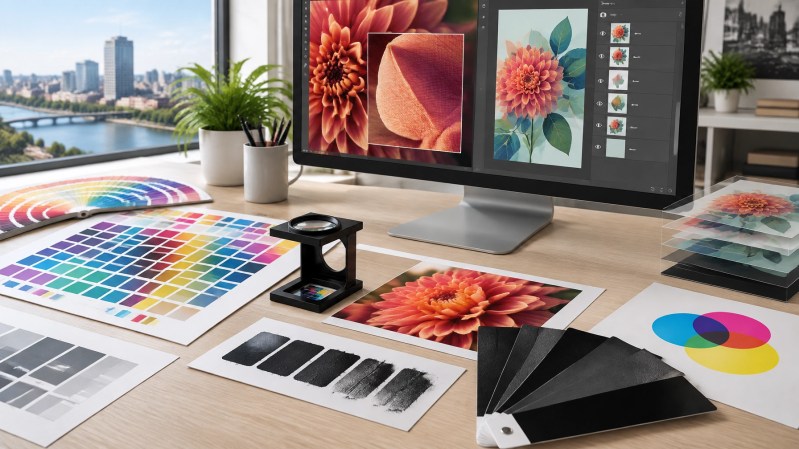
Computer screens use RGB. Most commercial printing uses CMYK.
RGB colors may change when converted to CMYK. Bright greens, blues, oranges, and other screen colors may print less intensely. Review the converted file before approval.
Use:
- CMYK for standard process color printing
- Approved spot colors for specific brand colors
- A printer-approved color profile when available
Spot colors can improve consistency for logos, brand colors, and special ink applications. They may also affect cost and production setup. Identify spot colors clearly and remove unused swatches.
Do not assume that a color displayed on a monitor will match printed ink. Paper stock, coating, ink coverage, and finishing all affect the final result.
Set Up Black Correctly
Use standard black for small text and fine lines. A common setup is 100% K with no additional cyan, magenta, or yellow.
Rich black uses a combination of CMYK inks. It is usually appropriate for large background areas, broad shapes, and large display text. The correct mix depends on the equipment and paper.
Do not use rich black for small body text. Small type made from multiple inks can show registration shifts and appear less sharp.
Ask for the preferred rich black formula before submitting a project with large dark areas.
Manage Fonts
Missing fonts can change line breaks, spacing, and page layout.
Before exporting:
- Confirm all fonts are active
- Replace missing fonts
- Check for substituted fonts
- Embed fonts in the PDF
- Convert display text to outlines when appropriate
Embedding fonts is generally preferred for a final PDF. Outlining text can prevent font substitution, but it removes editability and may create problems with very small text or complex effects.
Do not outline all text without keeping an editable source file. Save a separate outlined production copy.
Check Transparency & Layers
Transparency, shadows, glows, blending modes, clipping masks, and layered effects can create output problems if exported incorrectly.
For modern workflows, PDF/X-4 often supports live transparency. PDF/X-1a requires transparency to be flattened.
Before export:
- Review overprint settings
- Check transparent objects
- Remove hidden layers and unused objects
- Confirm clipping masks work correctly
- Avoid unnecessary blend modes
- Flatten only when required by the workflow
Do not send a screenshot of a design as the final file. A screenshot usually has low resolution, RGB color, incorrect dimensions, and no bleed.
Plan for Paper & Finishing
Paper stock and finishing choices can affect the file setup.
Consider these requirements before designing:
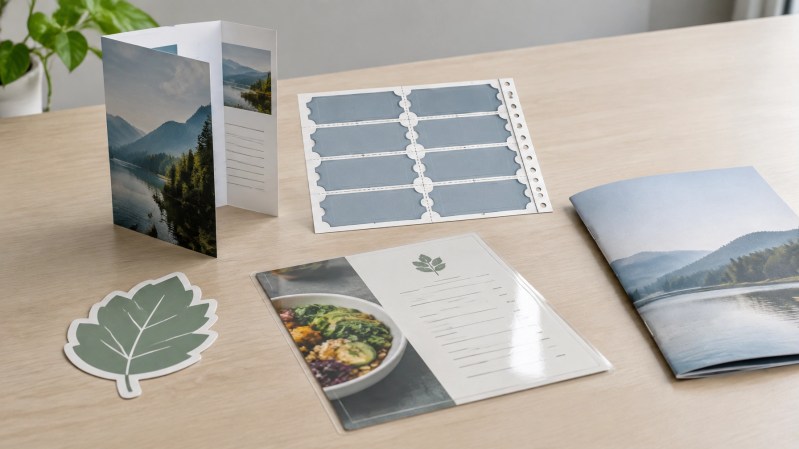
- Folding: Confirm fold positions and panel widths. A tri-fold may require one panel to be slightly narrower.
- Perforation: Mark the perforation location according to printer instructions.
- Die cuts: Provide a separate vector dieline using an approved spot color. Do not allow the dieline to print unless requested.
- Rounded corners: Confirm the corner radius and safe distance for important content.
- Lamination: Keep critical text and fine details away from edges and folds. Check whether the selected stock and coating affect color.
- Booklets: Confirm page order, binding, spine area, and cover setup.
- Envelopes: Use the correct template. Keep artwork away from seams, flaps, adhesive areas, and addressing zones.
Common File Problems
These issues frequently delay production:
- No bleed
- Incorrect document size
- Text too close to the trim
- Low-resolution images
- RGB artwork in a CMYK project
- Missing fonts
- Unlinked images
- Blank or extra pages
- Incorrect page orientation
- Reader spreads submitted instead of single pages
- Crop marks placed inside the finished area
- Unintended overprint
- Hidden layers showing during output
- Die lines included as printed artwork
- Password-protected PDFs
- Large rich-black areas using the wrong ink mix
- Artwork sent as a screenshot or web image
Open the exported PDF before submitting it. Review every page at 100% and at a larger zoom for small text, thin lines, gaps, and image problems.
Preflight Checklist
Use this checklist before sending a file to a Rochester printer:
- Confirm the finished trim size
- Add bleed on every required edge
- Keep important content inside the safety margin
- Use 300 effective DPI for photos at final size
- Convert colors to CMYK or approved spot colors
- Use standard black for small text
- Confirm rich black for large dark areas
- Embed fonts or outline required display text
- Check missing fonts and substituted fonts
- Review transparency and overprint settings
- Remove unused layers and hidden objects
- Confirm page count and page order
- Export as Press Quality PDF or the requested PDF/X standard
- Include crop marks only when requested
- Review folds, perforations, die cuts, and finishing areas
- Open the final PDF and inspect every page
- Keep an editable source file for future changes

When to Ask for Design Help
Ask for file-prep or design support when:
- The only available file is a screenshot
- A logo is low resolution
- The file has missing fonts
- The design needs bleed or layout correction
- The project requires folds, die cuts, or perforations
- The project uses complex transparency
- Brand colors need to match consistently
- A booklet needs page setup
- The file was created in Word or another general office program
- The project needs a new layout rather than simple printing
Image Printers M&P Corp. provides graphic design and publishing services, layout, file-prep support, printing, and copying under one roof. Services include business card design, flyer design, catalog layout, invitations, color copies, black-and-white copies, bulk copying, stationery, envelopes, booklets, and more.
The company has served Rochester since 1989. Local pickup is available at 37 Richmond Street, rear, Rochester, NY 14607. Off-street parking and loading docks are available.
For printing services Rochester NY, graphic design Rochester NY, print ready files Rochester support, or flyer printing Rochester NY, call 585-360-0132 or submit a request through the Image Printers contact page.